How to Take Great Photos for Your Farm or Food Brand with Your Phone
June 27, 2023
Understanding Your Gross Margins
December 22, 2023
How to Take Great Photos for Your Farm or Food Brand with Your Phone
June 27, 2023
Understanding Your Gross Margins
December 22, 2023November 11, 2023
How to Prepare Your Homemade Jam for Sale
By Noah Munro, Co-CEO
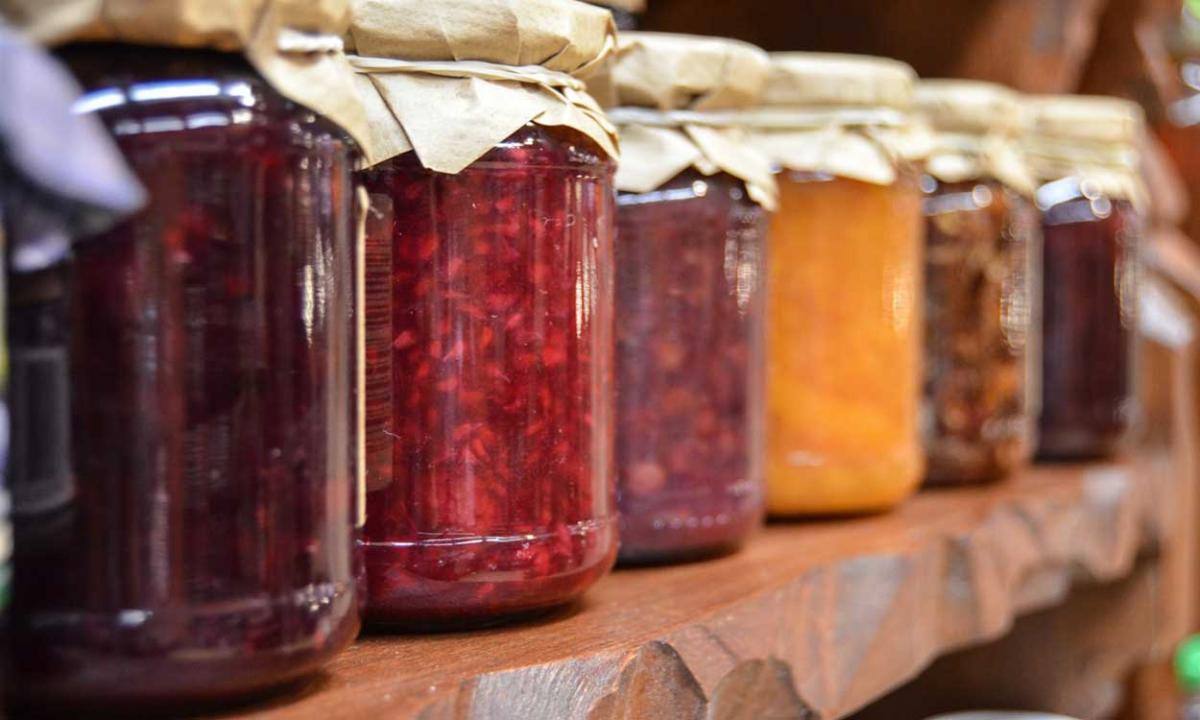
If you are passionate about your time in the kitchen and would like to turn that interest into a source of income, then you may want to consider a specialty homemade jam and jelly business. Fortunately, recent new legislation designed to stimulate growth in small business has lifted many of the previous prohibitive restrictions on production of homemade jam for resale in non-commercial kitchens, thereby allowing entrepreneurs the freedom to pursue creating products in their homes while keeping their startup costs much more manageable.
Selling Your Homemade Jam:
Cottage Food Bills, which began to be enacted by individual states a few years ago, allow for the production of homemade jams & jellies in private or home based kitchens for resale with variances in the language from state to state. All states (with the exception of New Jersey) allow for the sale of foods produced under CFBs at farmer’s markets, stands, fairs and festivals while some states also provide that they may be sold wholesale and online. To get started, you will want to see what specifics your state requires and whether or not a cap is placed on annual earnings from those sales. Those specifics can be found on the individual state’s website relating to Cottage Food regulations.
Additionally, you will want to consider setting up an LLC, getting a state seller’s permit and looking into a food liability insurance program. If you plan to start out selling your products at your local farmer’s market or festivals, you will want to check with them as well to see if they require any additional licensing or certifications.
Preserving Your Homemade Jam:
Because homemade jams and jellies have a high acid content, they fall into the category of “non-potentially hazardous foods” and can be preserved using the popular water bath technique. This is the most popular method for home cooks just starting out because the process is relatively simple to execute. It’s always good to remember that the quality of your homemade jams will depend on the freshness and quality of the ingredients you choose to use.
Sterilizing your jars
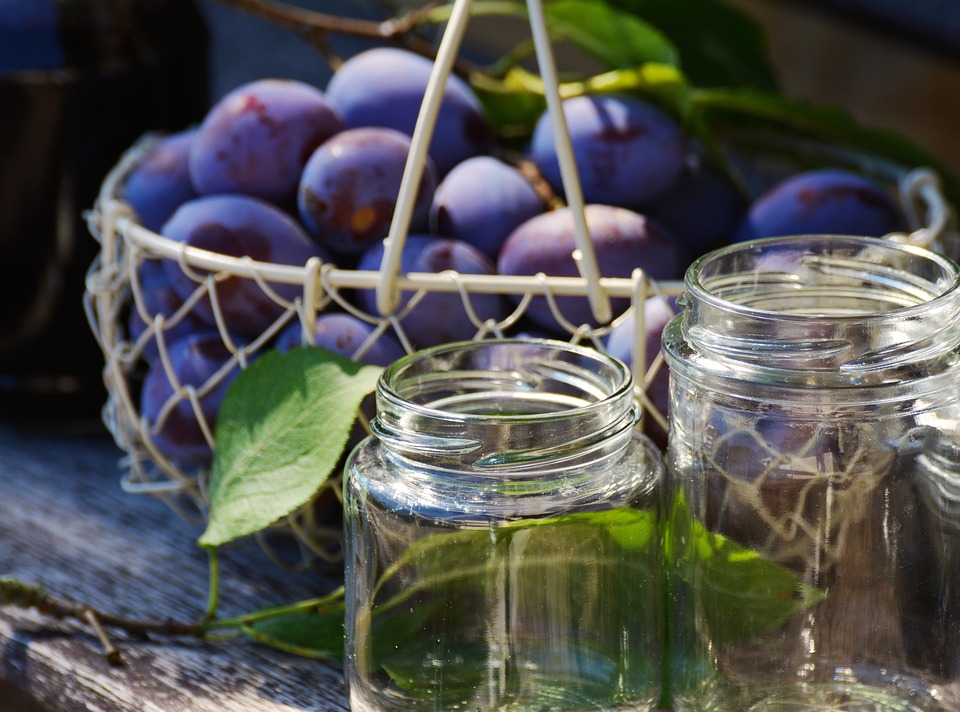
- Once you’ve perfected the recipe and have all of your ingredients ready, you will want to sterilize your canning jars. Typically, homemade jams for resale are packaged in 8 oz. jars. This is an ideal size for a home kitchen because it doesn’t require any industrial size cookware and several jars can easily be sterilized in a deep stock pot at the same time.
- You will want to inspect all of your jars first to ensure that there are no cracks or chips and that all of the components have been cleaned with warm, soapy water.
- Place a round wire rack in the bottom of your stock pot and fill it to the point with hot water where all the jars will be submerged at least 1” under the surface of the water. Next put as many jars as will fit on the rack submerged in the water, making sure the jars are not crowded or touching one another and bring to a boil. You will also want to submerge the screw bands. Once the water has come to a boil, you can reduce the heat so that the water stays at a rolling simmer. The new school of thought is that the lids should not be exposed to extreme heat because it may cause the rubber rim of the lid to thin out resulting in a poor seal. However, because you are making homemade jams and jellies for resale, it’s best to follow the current USDA Canning Guidelines which require that they, too, be sterilized in boiling water.
- Once the jars have been sterilized, remove them with stainless steel tongs, one by one, and place them on a stable surface covered with a kitchen towel.
Be a savvy business owner.
Get tips on accounting, finance, marketing, and more, tailored for farms and food businesses—free.
"*" indicates required fields
Filling and sealing your jars
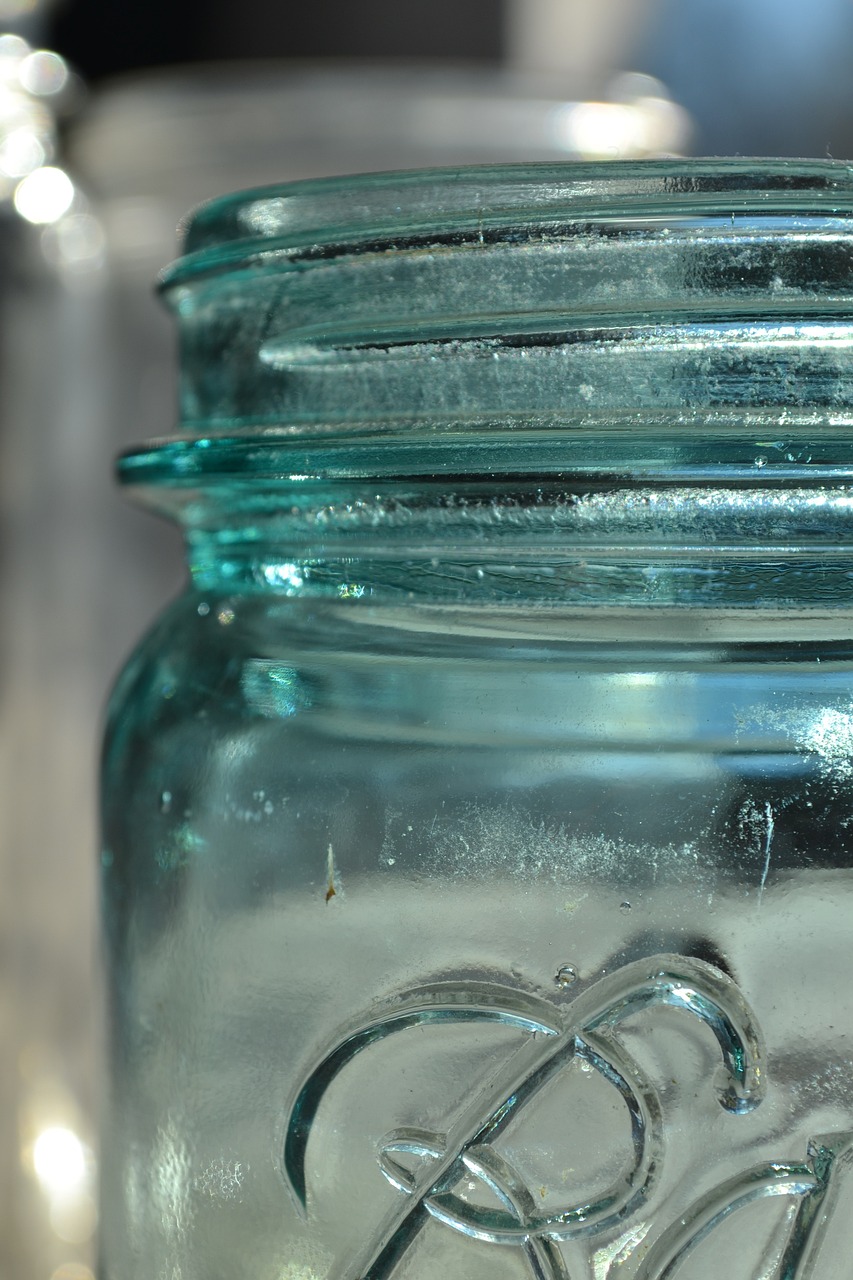
- They are now ready to be filled and sealed. If you choose to use a canning funnel for help in filling the jars, be sure that is sterilized as well.
- When you begin to fill the jars with your homemade jam, be sure to leave at least ¼” of space from the top of the jar. This is known as “headspace” and is important to allow for any expansion that might take place during the process of sealing.
- After filling the jars, take a wooden skewer and submerge it several times into each jar to eliminate any air pockets that may have formed.
- Place the ring seals on the jars and then screw the lids down where they are “snug” but not too tight.
- Now the jars are ready to again be submerged in hot water that you will bring to a boil. Canning tongs are by far the best tool for this step and a small yet essential investment to make for your homemade jam business. (Different jam & jelly recipes will have different boiling times, typically between 10-20 minutes. Make sure you know what’s best for your ingredients.)
- Once that time has expired, you are now ready to pull the jars from the water and leave them to cool. Using your canning tongs, bring each jar from the water and place in a draft-free space that doesn’t have changing light with 2-3 inches of space between each jar to allow for proper air circulation.
- As the jars cool, a vacuum is created inside that will form the seal by “sucking” in the lid. You will want to let the jars rest as they cool to make sure there is adequate time for the process to become complete so a proper seal is formed.
Making Your Jam Stand Out
Now that you’ve filled and sealed your homemade jam for resale, you have the perfect opportunity to create sample jars for your customers to try. 1 ounce jars are very inexpensive and are a perfect way to let potential customers taste your newest creations.
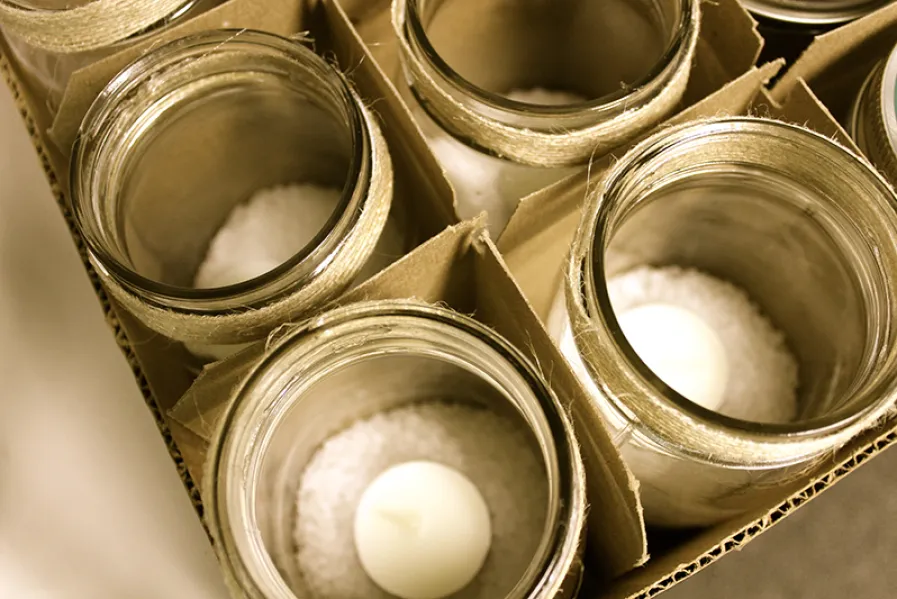
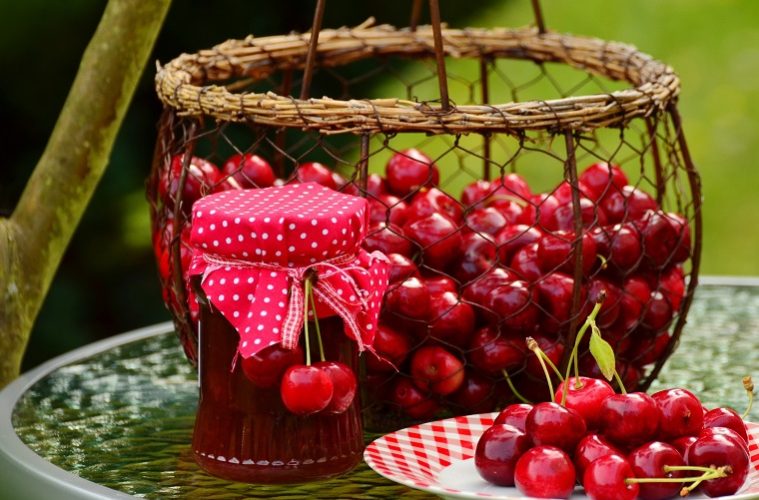
You want your homemade jams to be unique and memorable so be creative! Explore combinations that cater to both sweet and savory palettes and use locally sourced ingredients whenever possible. Have fun with your packaging. Consider covering each lid with burlap or a piece of cloth complimented by raffia or ribbon tied around the rim. Make sure your labels not only identify your product, but also include your website and contact information so your customers can place additional orders.
Cottage Food Bill Regulations for Homemade Jams by State
Alabama | Alaska | Arizona | Arkansas | California | Colorado | Connecticut | Delaware | Florida | Georgia | Hawaii | Idaho | Illinois | Indiana | Iowa | Kansas | Kentucky | Louisiana | Maine | Maryland | Massachusetts | Michigan | Minnesota | Mississippi | Missouri | Montana | Nebraska | Nevada | New Hampshire | New Mexico | New York | North Carolina | North Dakota | Ohio | Oklahoma | Oregon | Pennsylvania | Rhode Island | South Carolina | South Dakota | Tennessee | Texas | Utah | Vermont | Virginia | Washington | West Virginia | Wisconsin | Wyoming

